

Comprehensive End of Tenancy Cleaning Checklist: Room by Room Walkthrough
You can also download this list in a print-ready format to use as a guide.
Kitchen
Appliance Cleaning
Oven and Hob
- Remove racks, trays, and oven shelves for separate cleaning
- Apply oven cleaner to the interior and leave for recommended dwell time (usually 30-60 minutes)
- Clean control knobs by removing (if possible) and soaking in warm, soapy water
- Remove and clean oven door glass (both sides) if accessible
- Scrub interior surfaces, including roof, sides, and base
- Clean exterior surfaces, including handles and control panel
- Thoroughly clean hob/stovetop, removing any burner parts for deep cleaning
- For electric stoves, carefully clean heating elements and drip pans
- Polish all chrome or stainless steel components
- Tip: Line the oven with aluminium foil during your tenancy to prevent future cleaning hassle
Refrigerator/Freezer
- Unplug and thoroughly defrost freezer (plan for this 24 hours ahead)
- Remove and wash all shelves, drawers, and door compartments
- Clean interior surfaces with food-safe cleaner
- Wipe exterior surfaces, paying special attention to handles and top surfaces
- Clean door seals where mould and food residue collect
- Pull out the fridge if possible to clean behind and underneath
- Leave doors slightly open after cleaning to prevent odours (if power is off)
Microwave
- Remove and clean the turntable and support
- Clean interior with all-purpose cleaner or warm water with lemon juice
- Wipe exterior surfaces, including the top, sides, and control panel
- Clean around the door seal where food debris collects
- Tip: Heat a bowl of water with lemon for 2 minutes before cleaning to loosen dried food particles
Dishwasher
- Remove and clean filters (often neglected and full of food residue)
- Clean spray arms and check for blockages
- Wipe interior walls and door gaskets
- Run an empty cycle with dishwasher cleaner or white vinegar
- Clean exterior, including control panel and handle
- Wipe inside the door edges where grime collects
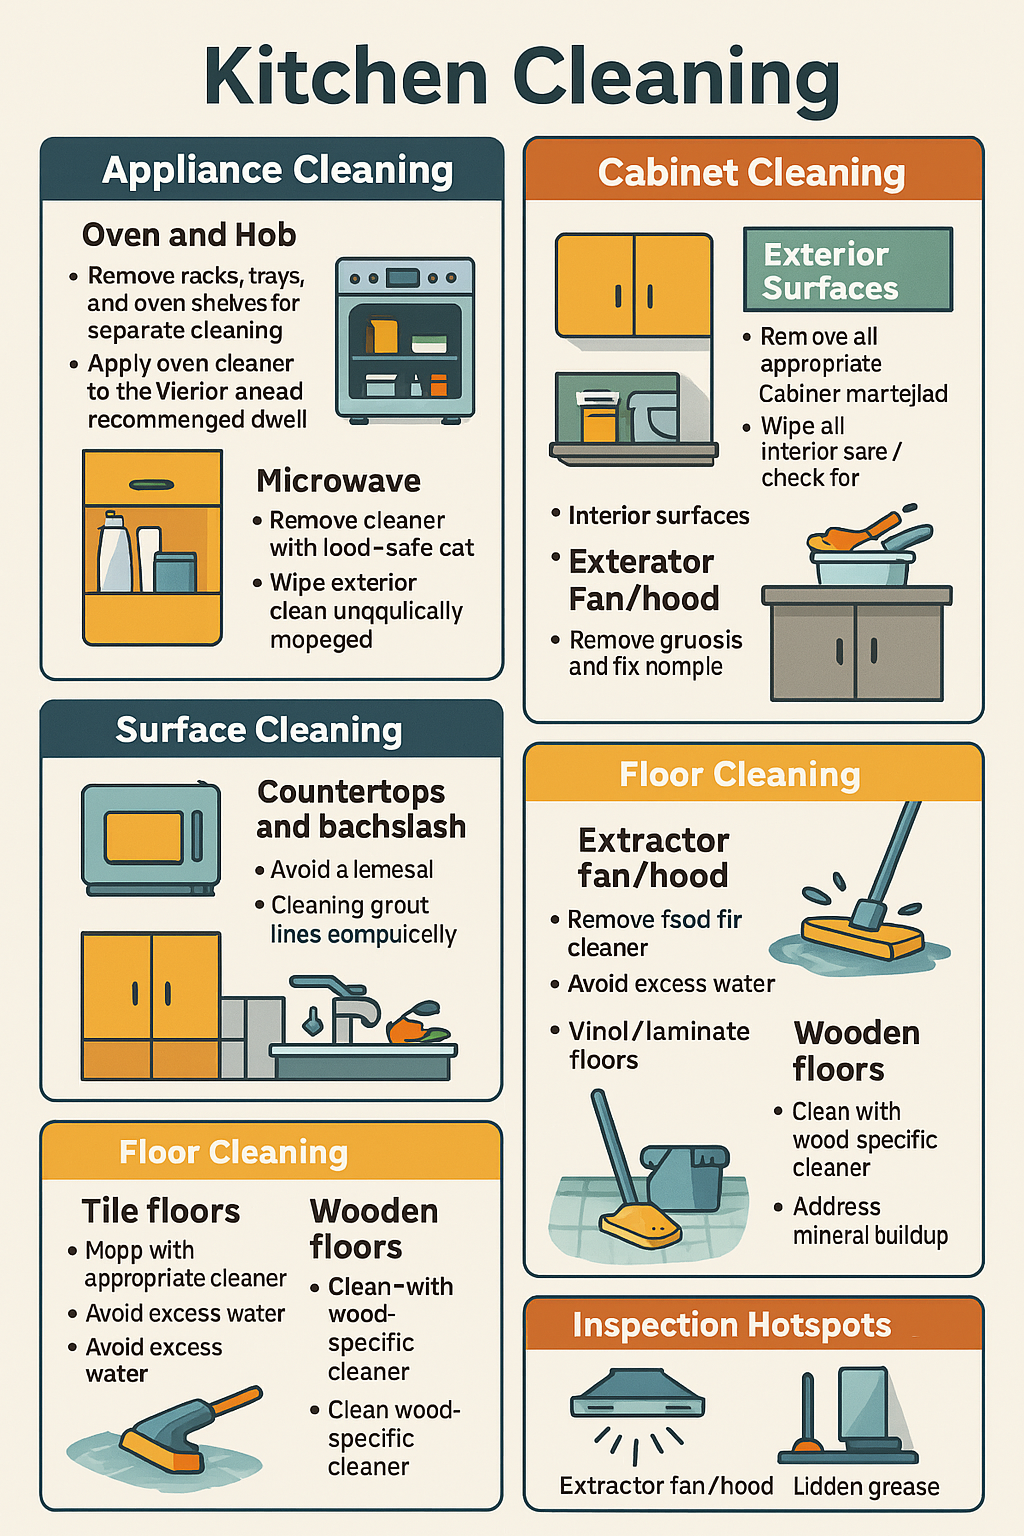
Cabinet Cleaning
Exterior Surfaces
- Remove all items from countertops
- Use appropriate cleaner for cabinet material (wood, laminate, painted)
- Pay special attention to cabinet handles and edges
- Clean cabinet faces, including any decorative moulding
- Address grease buildup, especially on cabinets near the stove
Interior Surfaces
- Remove all items from cabinets and drawers
- Vacuum crumbs and debris first
- Wipe all interior surfaces with appropriate cleaner
- Pay special attention to corners and joints where crumbs collect
- Allow to dry completely before replacing shelf liners (if applicable)
- Tip: Use newspaper to line cabinets during your tenancy for easier cleaning
Surface Cleaning
Countertops and Backsplash
- Use the appropriate cleaner for the surface material (e.g., granite, laminate).
- Remove stains with suitable treatments (baking soda paste for stubborn stains)
- Clean backsplash tiles, paying attention to grout lines
- Address any silicone seals around sinks and countertop edges
- Polish if appropriate for the material
Sink and Taps
- Remove limescale buildup with a specialised descaler
- Polish chrome fixtures to remove water spots
- Clean and unclog the drain (remove the trap if necessary)
- Scrub around the base of taps where grime accumulates
- Clean underneath the sink lip where mould can form
- Address the sink overflow hole, often neglected but visible during inspections
Floor Cleaning
Tile Floors
- Sweep or vacuum thoroughly
- Mop with appropriate cleaner
- Address grout lines with a small brush and suitable cleaner
- Pay attention to corners and edges where dirt collects
Vinyl/Laminate Floors
- Sweep or vacuum thoroughly
- Damp mop with manufacturer-recommended cleaner
- Avoid excess water, which can damage these floors
- Address any sticky spots with appropriate spot treatments
Wooden Floors
- Sweep or vacuum thoroughly
- Clean with wood-specific cleaner
- Buff dry to prevent water damage
- Avoid harsh chemicals that can strip finishes
Inspection Hotspots
Extractor Fan/Hood
- Remove and soak filters in a degreasing solution
- Clean the exterior housing and controls
- Wipe all surfaces, including underneath
- Address built-up grease on and around the unit
- Check and clean the vent if accessible
Hidden Grease Areas
- Clean tops of wall cabinets where greasy dust accumulates
- Wipe the space between appliances and cabinets
- Address the area behind the stove if accessible
- Clean kickboards and toe-kicks under cabinets
- Check light fixtures for greasy residue
Limescale Problem Areas
- Descale tap spouts and shower heads
- Address mineral buildup around sink fixtures
- Clean kettle if included with the property
- Check the washing machine soap drawer for limescale
Final Kitchen Touches
- Wipe light switches and power outlets
- Clean any kitchen windowsills and window tracks
- Empty and clean the bin and bin storage area
- Address scuff marks on walls and kickboards
- Check that all cabinet hinges and drawer runners are clean
- Ensure all surfaces are dry and streak-free
Bathroom
Bath and Shower Cleaning
Bathtub Surface
- Remove all personal items and toiletries
- Apply appropriate cleaner based on tub material (porcelain, acrylic, or fibreglass)
- Address soap scum with a non-abrasive cleaner
- Pay special attention to the bath rim and corners where mould forms
- Clean overflow cover and drain (often neglected but highly visible)
- Polish chrome or metal fixtures until streak-free
- Check and clean around tap bases where grime accumulates
- Remove limescale deposits with a specialised descaler
Shower Enclosure
- Clean glass doors with glass cleaner or white vinegar solution
- Remove limescale from glass using specialised products
- Clean shower track/runner where mould and soap scum collect
- Address door seals and sweeps where black mould often forms
- Clean shower head thoroughly (soak in vinegar to dissolve mineral deposits)
- Scrub shower caddy or shelving if present
- Check and clean drain cover and surrounding area
Tile and Grout Cleaning
Wall Tiles
- Spray with suitable bathroom cleaner
- Wipe down all tiled surfaces
- Pay attention to the bottom row of tiles where grime accumulates
- Clean corner joints where mould tends to develop
- Polish tiles for a streak-free finish
Grout Lines
- Make a paste of baking soda and water for light stains
- Apply specialised grout cleaner for tougher stains
- Use a grout brush or old toothbrush to scrub lines thoroughly
- For stubborn mould, apply a bleach solution (1:4 with water)
- Rinse thoroughly and dry completely
- Consider a grout sealer for seriously stained grout (consult landlord first)
Mold Removal Tips
- Ventilate the bathroom well when cleaning mould
- Wear gloves and consider a mask for more significant mould problems
- Apply mold-specific cleaner or bleach solution
- Allow to sit for recommended time (usually 10-15 minutes)
- Scrub with a brush and rinse thoroughly
- Dry completely to prevent immediate regrowth
- For persistent mould, report to the landlord as it may indicate ventilation issues
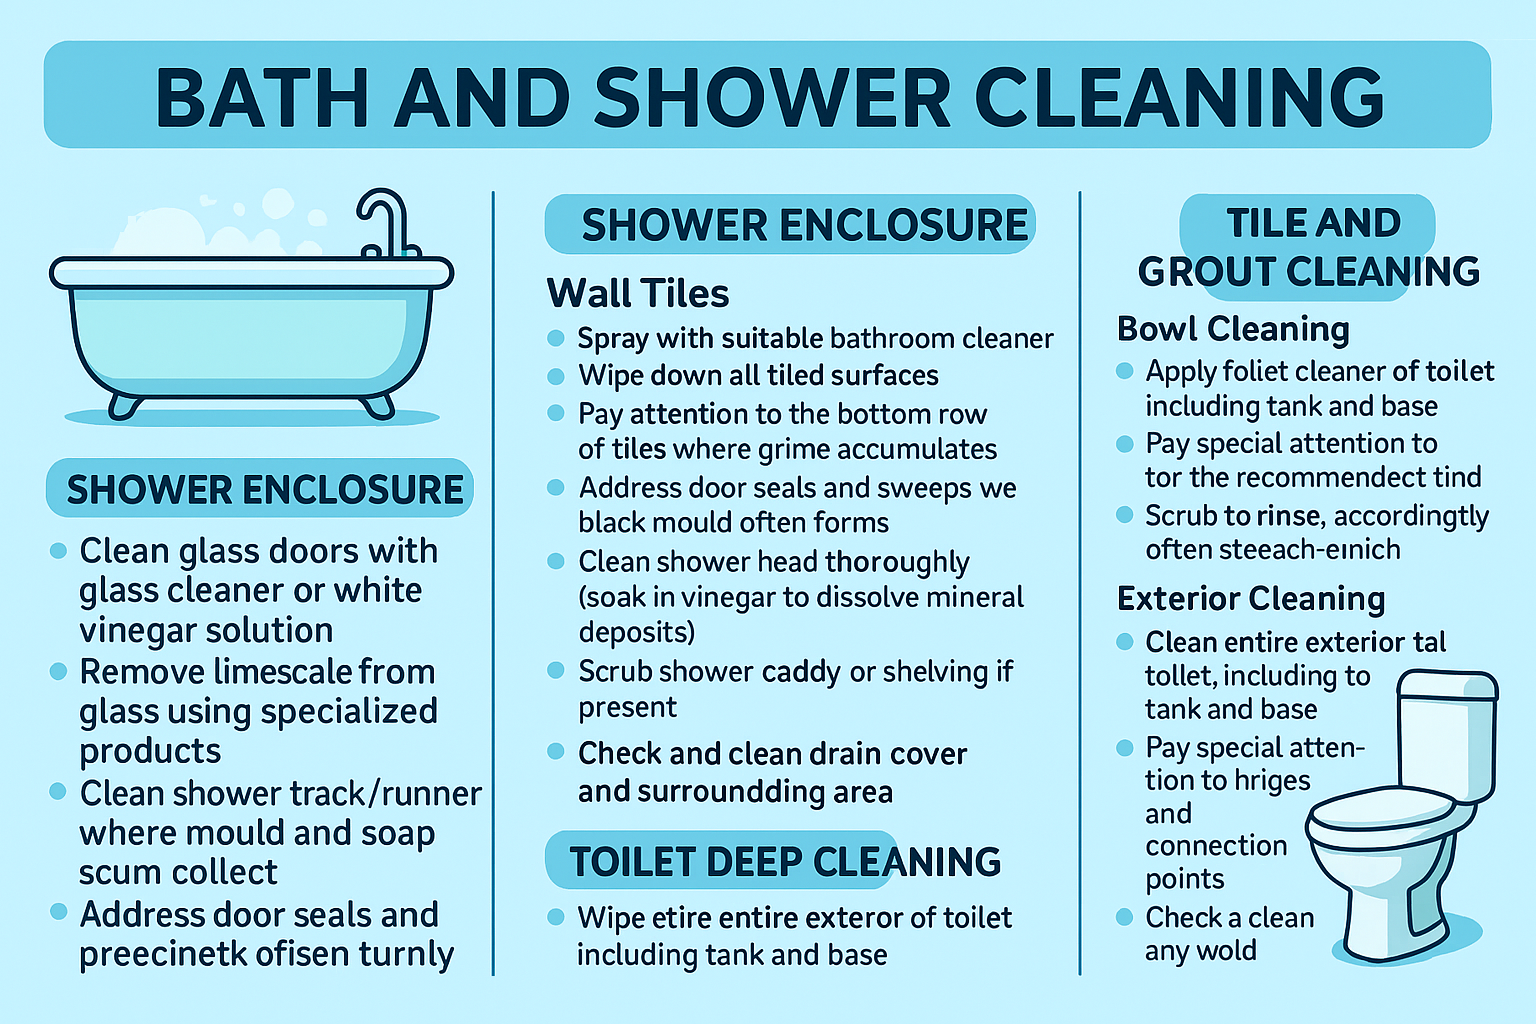
Toilet Deep Cleaning
Bowl Cleaning
- Apply toilet cleaner or bleach under the rim and throughout the bowl
- Allow the product to work for the recommended time
- Scrub thoroughly with a toilet brush, paying attention to the waterline and under the rim
- Flush to rinse, keeping brush in flowing water to clean it
- For stubborn limescale rings, use a pumice stone (carefully) or specialised cleaner
Exterior Cleaning
- Clean toilet seat, both top and underneath
- Wipe the entire exterior of the toilet, including the tank and base
- Pay special attention to hinges and connection points
- Clean behind the toilet and around the base where dust collects
- Check and clean any mould appearing on silicone seals
- Sanitize the flush handle/button
- Clean any dust on top of the cistern
Sink and Vanity Area
Sink Basin
- Clean with appropriate bathroom cleaner
- Remove limescale from taps and fixtures
- Clean overflow holes thoroughly (often missed)
- Address the area where the sink meets the countertop
- Clean underneath the basin edge where grime collects
- Ensure the drain is clean and free-flowing
Vanity and Storage
- Empty all cabinets and drawers
- Wipe the interior of all storage spaces
- Clean exterior surfaces according to material type
- Polish handles and fixtures
- Check for and clean any water damage or mould
- Address toothpaste splatter on and around the vanity
Mirrors and Glass
Mirror Cleaning
- Use glass cleaner or vinegar-water solution
- Spray onto the cloth rather than directly on the mirror to prevent damage to the backing
- Clean from top to bottom using a lint-free cloth
- Pay attention to edges and corners where grime collects
- Check for and clean any toothpaste splatter
- Ensure the frame is clean and dust-free
Glass Surfaces
- Clean shower screens and glass doors thoroughly
- Remove limescale buildup with appropriate products
- Polish to a streak-free finish
- Clean glass shelving if present
- Address any silicone seals around glass panels
Ventilation Systems
Extractor Fan
- Turn off power at the circuit breaker before cleaning
- Remove cover (if possible) and soak in warm soapy water
- Clean fan blades with a small brush or vacuum with a brush attachment
- Wipe housing with a damp cloth
- Check and clean vent ducting if accessible
- Replace cover once dry
- Test operation after cleaning
Air Vents
- Remove covers if possible and wash
- Vacuum inside accessible vents
- Wipe clean with a damp cloth
- Check for and address any mould around vents
Inspection Hotspots
Limescale Problem Areas
- Shower heads and tap spouts
- Around the base of taps
- Toilet bowl waterline
- Shower doors and screens
- Tile grout lines in hard water areas
- Inside toilet cistern (if accessible)
Hidden Mold Areas
- Silicone seals around bath, shower, and sink
- Behind the toilet (especially near the floor)
- Under bath panel, if accessible
- Underneath sink cabinets
- Inside medicine cabinets or vanity units
- Ceiling corners, significantly above the shower
- Inside toilet tank
Final Bathroom Touches
- Wipe all light switches and pull cords
- Clean light fixtures and replace any burned-out bulbs
- Check and clean windowsills and window frames
- Mop floor, paying attention to corners and behind the toilet
- Clean door, including top edge and handle
- Ensure all surfaces are dry to prevent water spots
- Leave the bathroom door open to aid ventilation
Living Room
Dusting and Surface Cleaning
High Surfaces
- Start with ceiling corners to remove cobwebs
- Clean light fixtures, ceiling fans, and lampshades (remove dust that can be visible when lights are on)
- Dust tops of door frames, picture rails, and tall furniture
- Wipe air vents and heating elements
- Clean ceiling light fittings and replace any blown bulbs
- Dust wall-mounted items, including smoke detectors and carbon monoxide alarms
Window Areas
- Clean window frames and tracks where dust and dirt accumulate
- Wipe window sills thoroughly, including corners
- Clean glass with appropriate cleaner (interior only, unless specifically required)
- Address condensation marks on frames
- Clean blinds slat by slat (dust top-to-bottom, then wipe with slightly damp cloth)
- For curtains, vacuum with upholstery attachment and check for washing instructions
- Clean curtain rods and fixtures
Furniture and Surfaces
- Move furniture to clean underneath and behind
- Dust all horizontal surfaces thoroughly
- Wipe furniture according to its material (use wood polish for wooden surfaces, etc.).
- Clean inside drawers and shelves if they belong to the property
- Pay attention to coffee tables, side tables, and shelving units
- Vacuum upholstered furniture and remove cushions to clean underneath
- Address marks or stains on furniture with appropriate treatments
Detailed Cleaning Elements
Skirting Boards and Woodwork
- Dust first to remove loose particles
- Wipe with appropriate cleaner based on the finish
- Pay attention to corners and decorative moulding where dust collects
- Clean behind radiators using a radiator brush
- Address any scuff marks or dirt buildup
- Check for and clean areas where pets or children may have caused marks
Doors and Door Frames
- Clean the entire door surface on both sides
- Pay special attention to areas around handles where fingerprints accumulate
- Clean the top edge of the door (often neglected but checked during inspections)
- Wipe door frames completely, including inside the rebate
- Clean the threshold and bottom of the door
- Check for and address any marks or scuffs
Switches and Sockets
- Turn off power at the circuit breaker for safety
- Wipe light switches to remove fingerprints and dirt
- Clean around switch plates where dust collects
- Dust power outlets and media connection points
- Clean thermostat controls and any other wall-mounted controls
- Ensure all are completely dry before restoring power
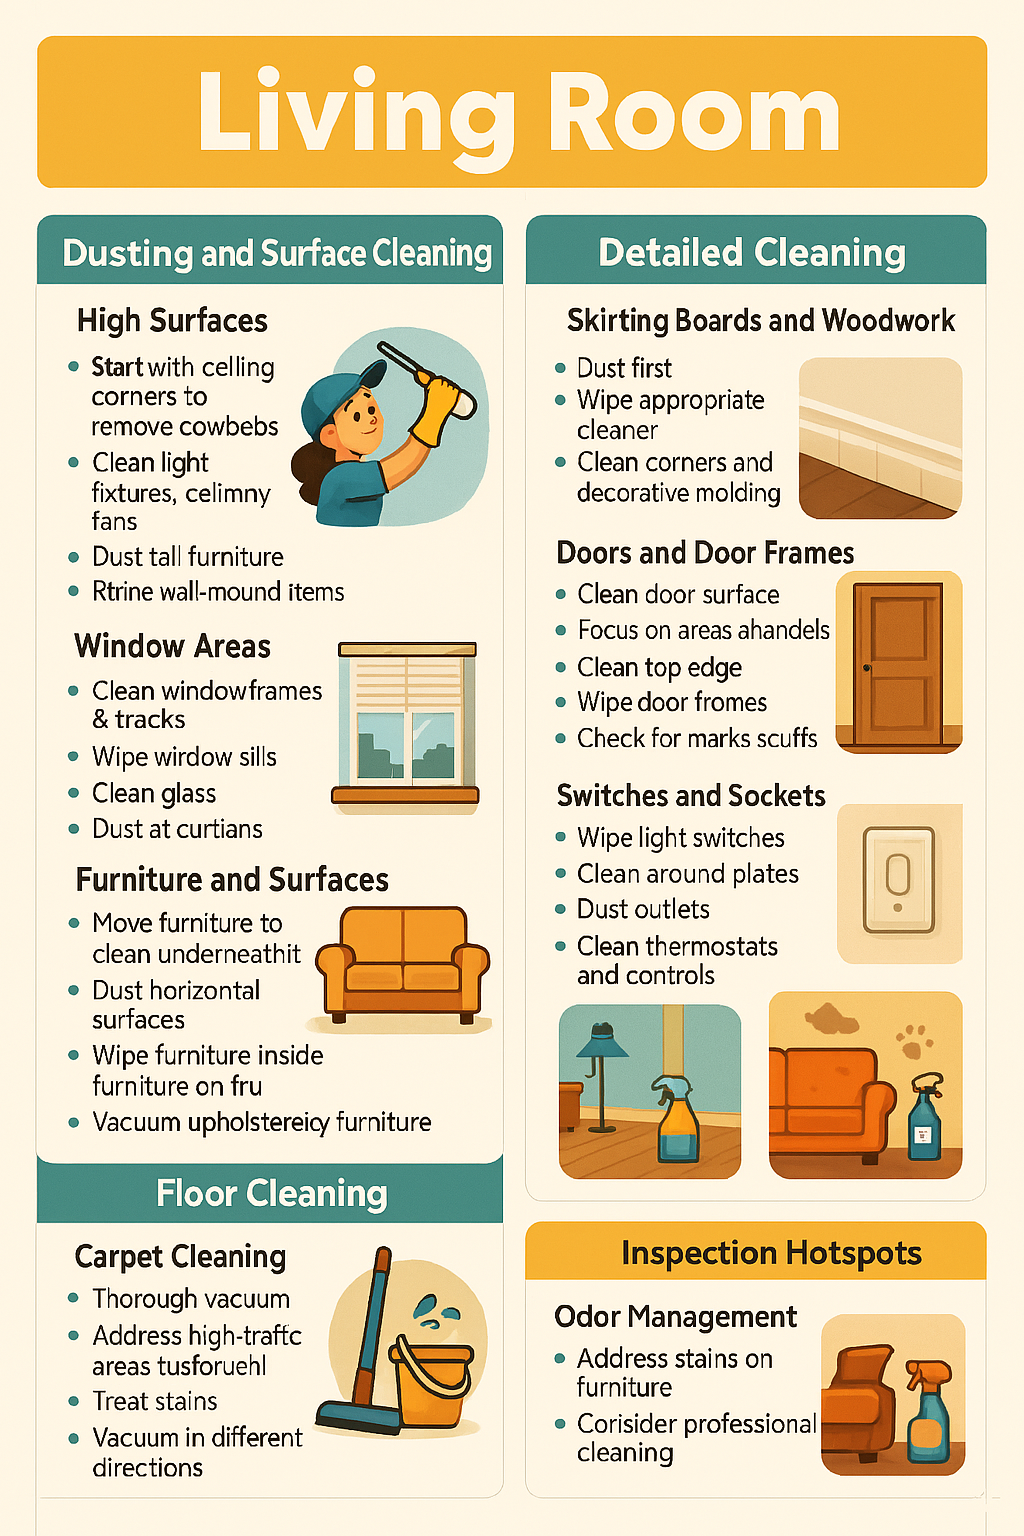
Floor Cleaning
Carpet Cleaning
- Vacuum thoroughly, using crevice tools for edges and corners
- Move furniture to vacuum underneath (if not already done)
- Address high-traffic areas with extra attention
- Treat stains with appropriate carpet cleaner
- Consider professional carpet cleaning for heavily soiled carpets
- Allow adequate drying time before the final inspection
- Vacuum in different directions for best results and to lift the pile
Hard Floor Cleaning
- Sweep or vacuum to remove loose dirt and dust
- Use appropriate cleaner for the specific floor type:
- Laminate: barely damp mop with specific laminate cleaner
- Hardwood: wood-specific cleaner and minimal moisture
- Tile: tile cleaner with attention to grout lines
- Vinyl: mild detergent solution and damp mop
- Avoid excess water on any flooring type
- Pay special attention to corners and edges
- Address any stuck-on residue or marks
- Buff dry where appropriate for a streak-free finish
Inspection Hotspots
Odor Management
- Smoke Odors: If smoking has occurred, consider:
- Wiping walls with vinegar solution to neutralise odours
- Steam cleaning carpets and upholstery
- Cleaning curtains if they absorb smoke
- Using odor-eliminating products (not just masking sprays)
- Cleaning inside light fixtures where smoke particles collect
- Replacing light bulbs which can retain smoke odour
- Pet Odors: Address thoroughly by:
- Treating carpet and upholstery with enzyme cleaners
- Checking for and cleaning any "accident" spots
- Paying extra attention to areas where pets spend the most time
- Cleaning air vents that may circulate pet dander
- Considering professional cleaning for severe cases
Upholstery Stain Removal
- Identify stain type to determine appropriate treatment
- Test cleaning products on a hidden area first
- Blot stains rather than rubbing (which can spread the stain)
- For water-based stains, use appropriate upholstery cleaner
- For oil-based stains, use a specialised solvent-based cleaner
- Allow adequate drying time
- For persistent stains, consider professional cleaning
- Check the rental agreement regarding furniture cleaning requirements
Electronics and Media Areas
- Dust TV screens with appropriate screen cleaner
- Clean remote controls with disinfectant wipes
- Wipe TV stands and entertainment units thoroughly
- Address cable management areas where dust collects
- Clean speaker grills with a vacuum brush attachment
Final Living Room Touches
- Check for and remove any marks on walls
- Ensure all personal items have been removed
- Test all light bulbs and replace any that aren't working
- Close and secure windows
- Return furniture to original positions (refer to check-in inventory)
- Conduct a final walkthrough from different angles to spot any missed areas
- Take clear, well-lit photos of the cleaned room for your records
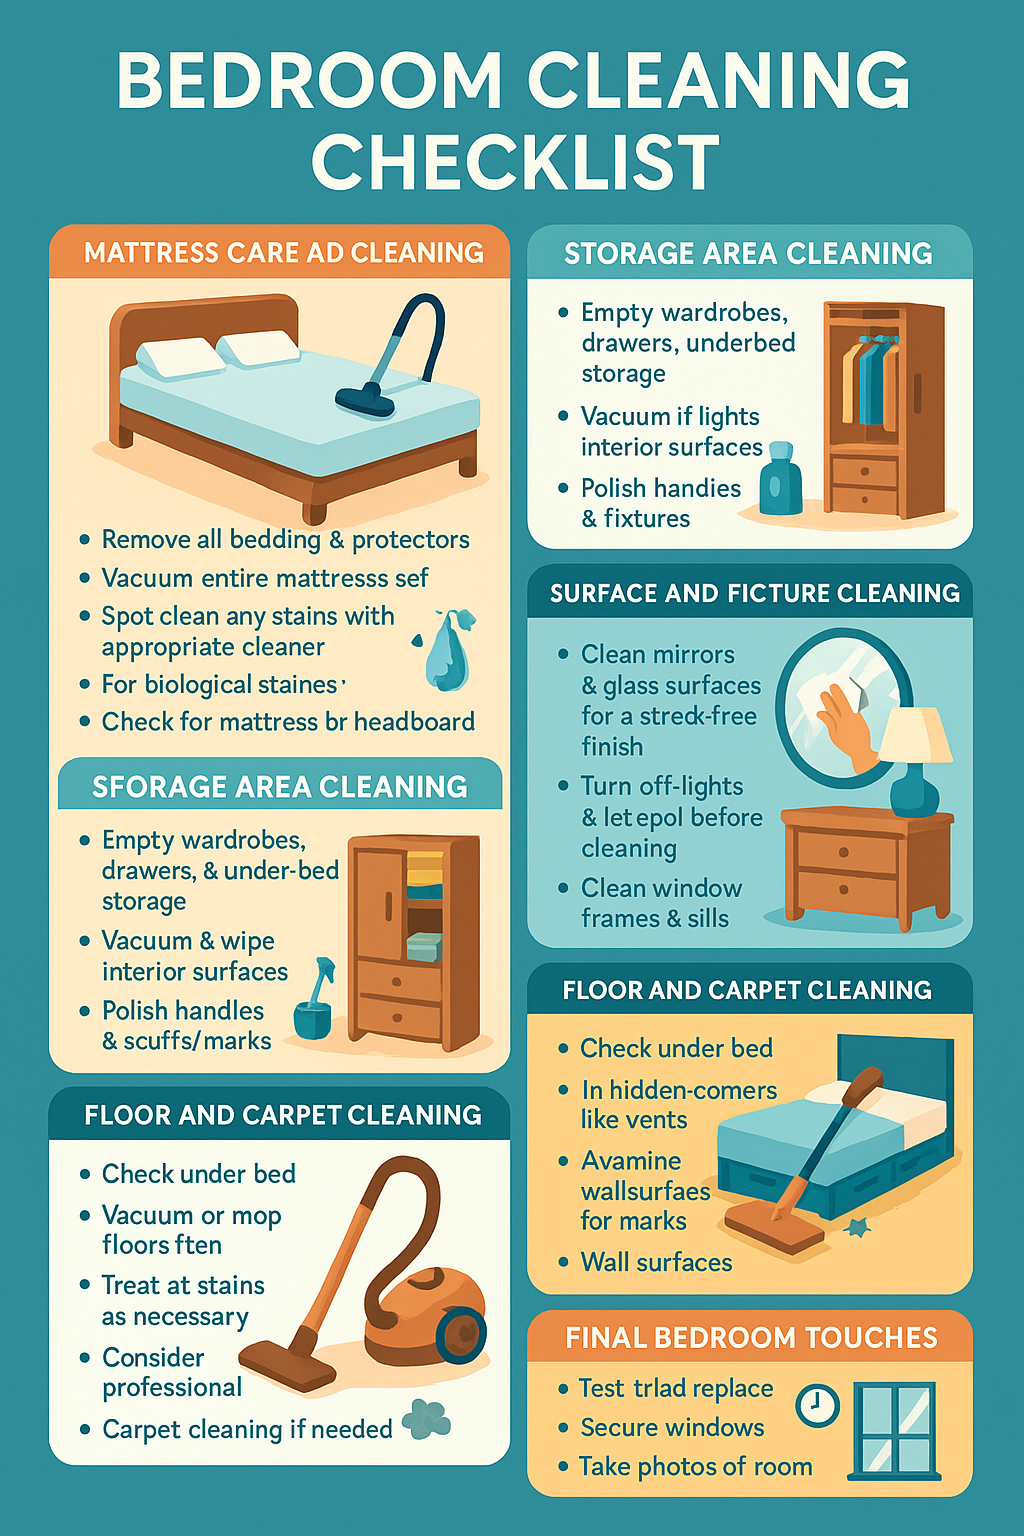
Bedroom
Mattress Care and Cleaning
Surface Cleaning
- Remove all bedding and mattress protectors
- Vacuum the entire mattress surface using an upholstery attachment
- Pay special attention to seams, tufts, and buttons where dust collects
- Spot clean any stains with appropriate cleaner based on stain type
- For biological stains, use enzyme-based cleaners
- For general freshening, sprinkle baking soda, leave for 1-2 hours, then vacuum thoroughly
Mattress Airing
- Stand mattress against the wall to air both sides if possible
- Open windows to improve air circulation (weather permitting)
- Ensure the mattress is completely dry before replacing
- If the mattress has persistent odours, consider specialised fabric freshener
- For severe stains or damage, consult the landlord about professional cleaning
Bed Frame Cleaning
- Vacuum all surfaces of the bed frame
- Dismantle if necessary to clean underneath and between joints
- For wooden frames, use appropriate wood cleaner
- For metal frames, wipe with a damp cloth and dry thoroughly to prevent rust
- Check for and address dust or debris in screw holes or crevices
- Pay special attention to headboards, especially fabric ones, which collect dust and oils
Storage Area Cleaning
Wardrobes and Closets
- Remove all personal items and clothing
- Vacuum or wipe interior shelves, starting from top to bottom
- Check and clean the top of the wardrobe where dust accumulates
- Wipe wardrobe doors inside and out
- Clean tracking on sliding doors
- Polish handles and fixtures
- Check for and remove any clothing marks or scuffs
- Leave doors slightly open after cleaning to prevent musty odours
Drawers and Bedside Tables
- Empty all contents completely
- Vacuum inside drawers to remove dust and debris
- Wipe interior surfaces with an appropriate cleaner
- Check for and clean any stains or sticky spots
- Clean exterior surfaces according to material
- Pay attention to handles and drawer runners
- Ensure drawers slide smoothly after cleaning
Under-Bed Storage
- Remove all items from under-bed storage areas
- Vacuum thoroughly, using crevice attachments to reach corners
- Wipe any built-in storage components
- Check for and address dust bunnies, which commonly accumulate
- Ensure storage drawers are clean inside and out
Surface and Fixture Cleaning
Mirrors and Glass
- Clean all mirrors with glass cleaner or vinegar solution
- Wipe from top to bottom to prevent streaking
- Pay attention to mirror edges and frames
- Check for and clean any splash marks or fingerprints
- Polish to a streak-free finish
- Clean any glass cabinet doors or picture frames
Light Fixtures
- Turn off and allow lights to cool completely before cleaning
- Remove shades and wash if applicable
- Dust bulbs carefully (when cool) and check they're working
- Clean ceiling fixtures to remove dust and insects
- Wipe bedside lamps, including bases and switches
- Replace any blown bulbs
- Check wall-mounted lights and clean thoroughly
Windows and Window Treatments
- Clean window frames and sills
- Wipe windows with appropriate glass cleaner
- Clean blinds slat by slat or according to manufacturer instructions
- Vacuum curtains or wash/dry clean according to labels
- Check curtain rails and clean dust that accumulates
- Ensure all hardware is functional and clean
Floor and Carpet Cleaning
Carpet Cleaning
- Move all furniture to clean underneath
- Vacuum thoroughly in multiple directions to lift the pile
- Address high-traffic areas with extra attention
- Treat any stains with appropriate spot cleaners
- Pay special attention to areas near the bed where dust and hair accumulate
- Consider professional steam cleaning for heavily soiled carpets
- Allow adequate drying time before the final inspection
Hard Floor Cleaning
- Sweep or vacuum to remove dust and debris
- Use appropriate cleaner for floor type (wood, laminate, vinyl, tile)
- Pay attention to corners and edges where dust collects
- Clean under radiators and furniture
- Address any scuff marks or stains
- Buff dry if needed to prevent watermarks
Inspection Hotspots
Under-Bed Areas
- This is the most commonly missed area in bedroom cleaning
- Move the bed thoroughly to access the entire floor area
- Vacuum thoroughly, including corners
- Check for and remove any items that may have fallen under the bed
- Look for dust accumulation on baseboards under beds
- Inspect for cobwebs in corners at floor level
Hidden Corners and Crevices
- Check corners where walls meet the ceiling
- Inspect areas behind doors and furniture
- Clean inside built-in fixtures and joinery
- Check corners of closets and wardrobes
- Inspect and clean air vents, which often collect dust
- Look behind radiators and clean thoroughly
Wall Surfaces
- Check for marks from furniture or bedheads
- Look for finger marks around light switches
- Inspect for any sticky residue from tape or adhesives
- Address any scuffs at furniture height
- Clean marks around doorframes
- Check for cobwebs in ceiling corners
Odor Issues
- Address any musty smells in closets with appropriate fresheners
- Check for and clean any spills that might cause odours
- Ensure all personal toiletries and fragrances are removed
- Consider fabric freshener for carpets and curtains
- Leave windows open when possible to air the room
Final Bedroom Touches
- Return all furniture to its original positions
- Ensure all personal items are removed
- Check all drawers and storage spaces are empty
- Test light bulbs and replace any that aren't working
- Close and secure windows
- Take clear photographs of the cleaned room for your records
- Conduct a final inspection using a flashlight to spot any missed dust
Additional Areas
Hallways and Staircases Walls and Skirting Boards
- Remove scuff marks and fingerprints from walls (common in narrow hallways)
- Clean light switches and surrounding areas where fingerprints accumulate
- Dust and wipe all skirting boards, paying attention to corners
- Check for cobwebs in ceiling corners and light fixtures
- Wipe door frames and tops of doors, which collect dust. Staircase Cleaning
- Vacuum stairs thoroughly, including corners and edges
- Clean between balusters/spindles using a cloth-wrapped ruler or specialised tool
- Dust and polish bannisters and handrails
- Wipe stair risers, which often show scuff marks
- Address any squeaky steps or loose carpet (report to the landlord if necessary)
- For wooden stairs, use the appropriate wood cleaner
- For carpeted stairs, treat any stains with a carpet cleaner. Floor Surfaces
- Vacuum hallway carpets in multiple directions to lift the pile
- Mop hard floors with an appropriate cleaner
- Pay attention to threshold areas between rooms where dirt accumulates
- Clean corners and edges thoroughly
- Address high-traffic wear patterns with appropriate treatments
- Check under any hallway furniture for dust and debris
Utility Rooms Washing Machine/Dryer
- Clean exterior surfaces completely
- Wipe control panel and dials
- Clean rubber door seal where mould can accumulate
- Remove and clean detergent drawer
- Run an empty hot wash cycle with a cleaning tablet or white vinegar
- Clean filter according to manufacturer instructions
- Wipe behind and underneath accessible Utility Sinks
- Clean the basin with an appropriate cleaner
- Remove limescale from taps
- Clean drain and overflow
- Wipe surrounding countertops
- Address any watermarks on adjacent surfaces
- Clean underneath sink and surrounding pipes. Storage Areas
- Empty all cupboards and shelving
- Vacuum or wipe interior surfaces
- Clean doors and handles
- Check for and address any leaks or water damage
- Ensure all personal cleaning supplies are removed
- Clean any utility room fixtures and fittings
Built-in Storage Airing Cupboards
- Remove all personal items
- Vacuum or wipe shelving thoroughly
- Check for and address any mould or damp issues
- Clean the hot water tank exterior if accessible
- Wipe doors and surrounding frame
- Ensure the thermostat is dust-free and functioning
Under-stairs Storage
- Empty entirely of all personal belongings
- Vacuum thoroughly, including corners and ceiling
- Check for and remove cobwebs
- Clean any shelving or hooks
- Wipe walls and ceiling of the storage area
- Ensure light works if present (replace the bulb if needed)
Built-in Wardrobes and Cupboards
- Empty all contents
- Vacuum interior completely
- Wipe shelving from top to bottom
- Clean tracking on sliding doors •
- Dust tops of cupboards where visible
- Check for and remove any odours with the appropriate freshener
Windows, Doors, and Fixtures Interior Windows
- Clean all windowsills and tracks
- Remove any mould around window frames
- Clean glass with appropriate window cleaner
- Wipe frames according to material (uPVC, wood, aluminium)
- Address any condensation damage
- Clean blinds and curtain rails thoroughly
- Ensure windows open and close properly
Internal Doors
- Clean both sides of all doors
- Pay special attention to areas around handles
- Wipe top edges of doors (often missed but checked by inspectors)
- Clean doorframes and thresholds
- Address any scuff marks or fingerprints
- Check and clean door stoppers
Light Fixtures
- Turn off and allow to cool before cleaning
- Remove shade/cover where possible
- Dust bulbs carefully when cool
- Clean ceiling roses and surrounding areas
- Replace any blown bulbs
- Clean pull cords if present
- Pay attention to recessed lighting where insects can accumulate
Other Important Areas
Radiators and Heating Elements
- Dust tops and sides of all radiators
- Clean between radiator columns using a specialised brush
- Wipe radiator covers if present
- Clean behind radiators using a radiator brush
- Dust wall-mounted heaters
- Clean thermostat controls, Fuse Boxes, and Meters
- Dust carefully around electrical boxes
- Wipe the exterior of the consumer unit
- Ensure access is clear
- Do not attempt to clean inside electrical panels
Coat Closets and Entryways
- Empty completely
- Vacuum floor and shelving
- Wipe walls which may have marks from coats
- Clean hooks and hangers
- Address any shoe storage areas
- Check for and remove odours from damp outerwear
Final Additional Area Touches
- Check all light bulbs are working
- Ensure all storage areas are empty
- Test that all doors open and close properly
- Confirm windows are secure and locks functional
- Vacuum or mop floors one final time after all other cleaning is complete
- Take clear photographs of cleaned areas for your records